Mount Rainier National Park is a hiker’s paradise. The park offers trails for every skill level, from wildflower-filled meadows to panoramic vistas. Whether you’re a seasoned adventurer or a casual sightseer, the best hikes in Mount Rainier National Park await you to explore them.
When I first saw a picture of Mt Rainier, I knew I HAD to make a trip to Washington. When Scott and I finally drove our campervan up to Washington, I spent more than enough time exploring the Mt Rainier National Park area to have my heart full.
Now, I want to share my best Mt Rainier hike knowledge with you!
In this blog, we’ll delve into the diverse hiking options in Mount Rainier. We’ll cover the different areas of the park, highlight some must-do hikes, and equip you with essential tips for a successful and enjoyable adventure.
Make sure you save this blog in a safe place when planning your visit to Mt Rainier National Park!
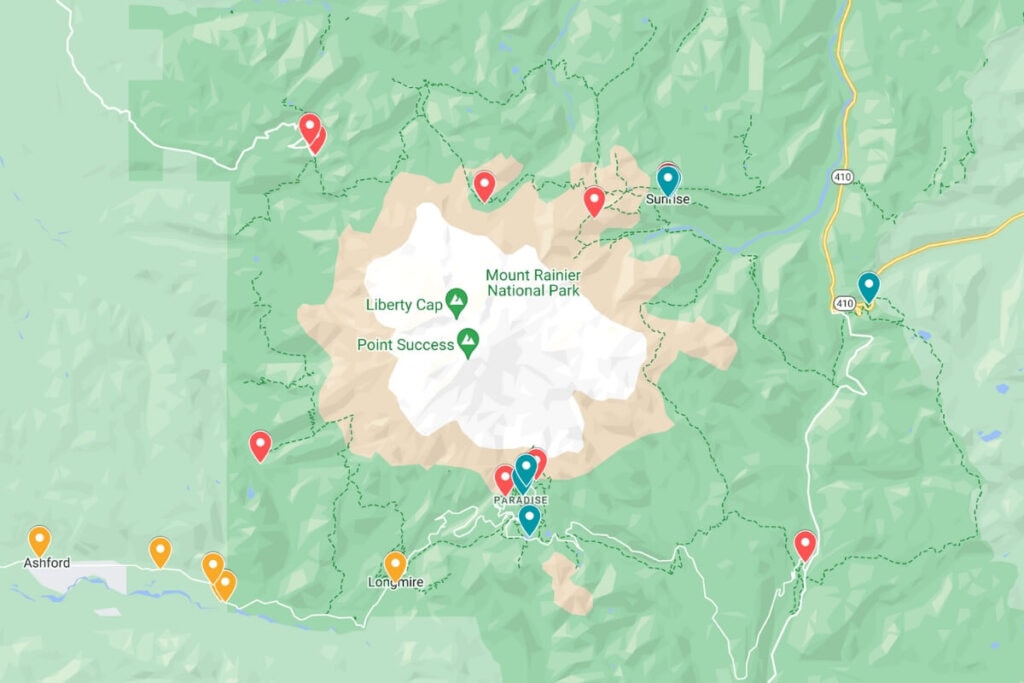
List and Map of Mount Rainier Hikes
- Burroughs Mountain Trail (Sunrise Area)
- Fremont Lookout (Sunrise Area)
- Sourdough Ridge Trail (Sunrise Area)
- Nisqually Vista Loop Trail (Longmire/Paradise Area)
- Skyline Loop Trail (Longmire/Paradise Area)
- Grove of the Patriarchs Loop (Ohanapecosh Area)
- Spray Park Trail (Carbon River/Mowich Area)
- Tolmie Peak Lookout (Carbon River/Mowich Area)
- Gobbler’s Knob + Lake George (West Side of Mount Rainier)
- Wonderland Trail (Various Entrances)
Click here for a live version of the map
Best Mt Rainier Hikes in Northeast Entrance (Sunrise Area)
Situated on the park’s east side, Sunrise boasts the highest vehicle-accessible point in Mount Rainier National Park.
This area is known for its meadows and wildflowers in summer. It offers incredible panoramic vistas, especially along the Sunrise Rim Trail.
Hikers can choose from a variety of trails here, ranging from the easy Sourdough Ridge Trail to Frozen Lake to the more strenuous climb to the historic Mount Fremont Lookout.
Fremont Lookout
- Location: NE side of Mount Rainier at Sunrise
- Distance: 5.6 miles
- Elevation Gain: 900 feet
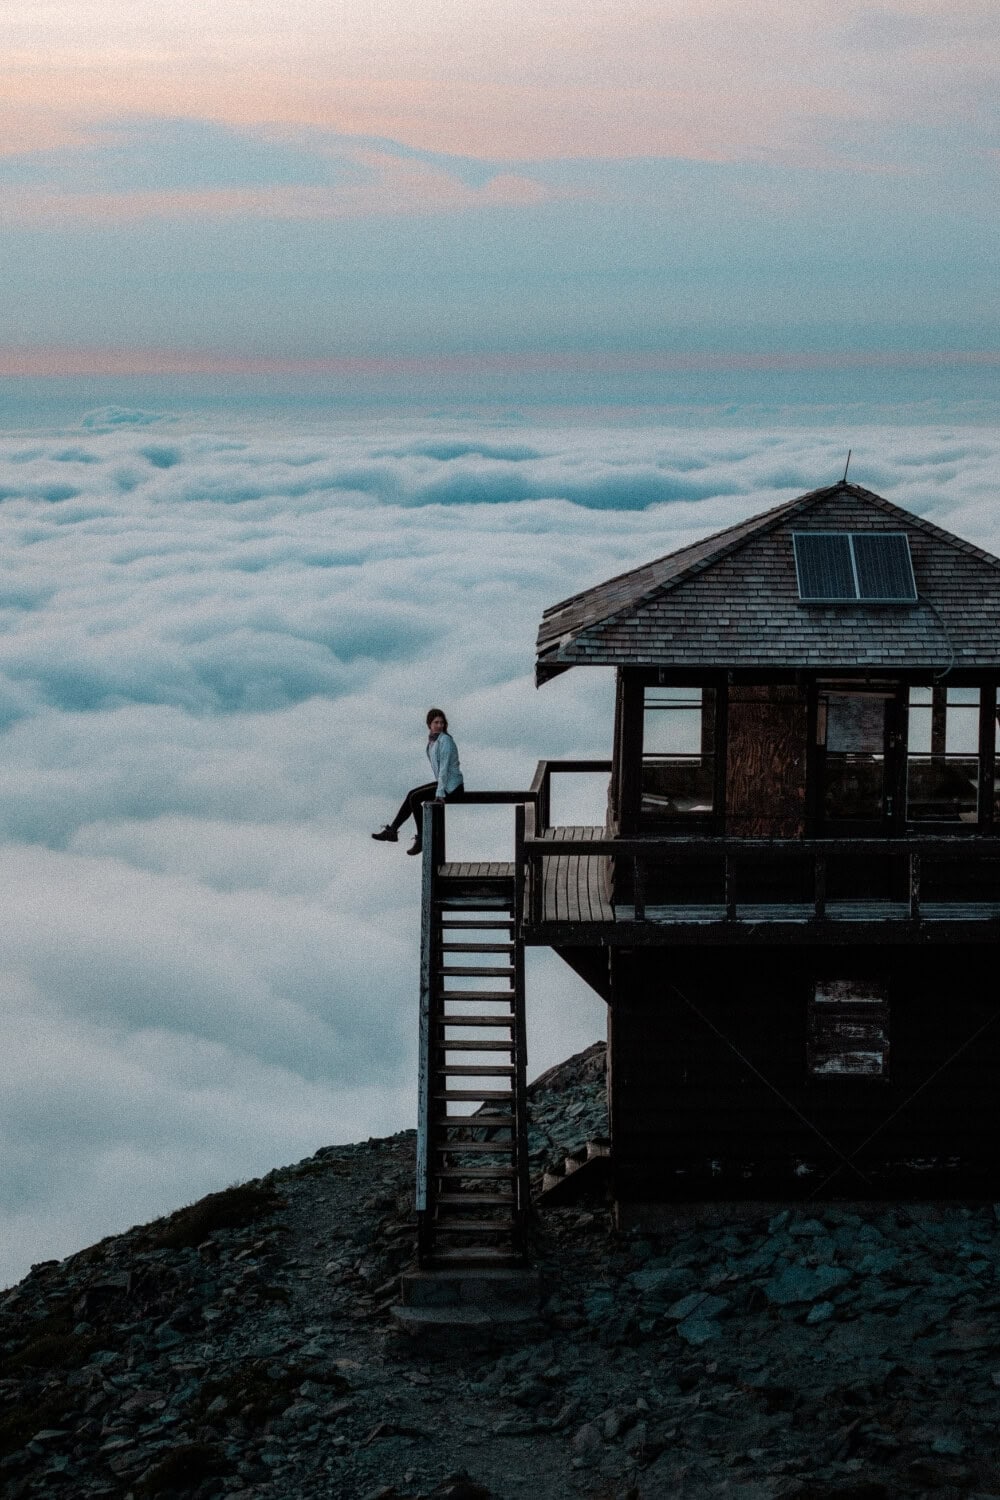
Fremont Lookout is one of my favorite hikes in the park and all US national parks, period.
Not only will you get insane views of the mountain and the surrounding area, but you’ll also have the ability to hike to a beautifully preserved lookout tower.
OH, and I almost forgot, if you have time to stick around for sunset, you’ll likely catch a cloud inversion!
On a clear day, you can see the Cascades too.
The trail starts with a steep incline and levels out for the last 0.5 miles or so.
Either way, Fremont Lookout is one of the best Mt Rainier hikes available!
Burroughs Mountain Trail
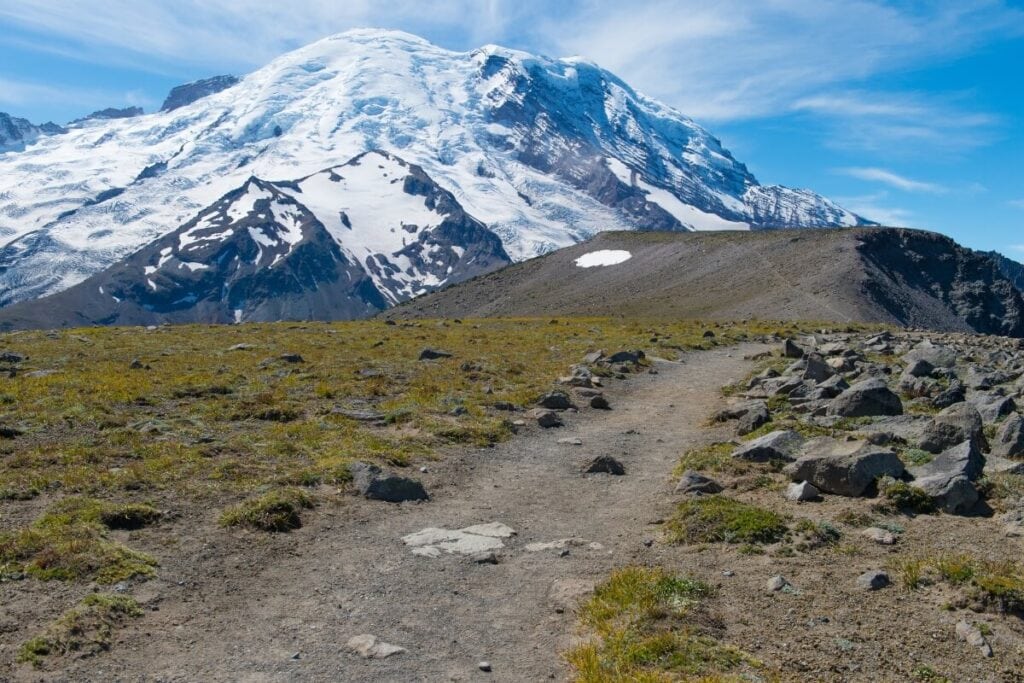
- Location: NE side of Mount Rainier at Sunrise
- Distance: 6.3 miles
- Elevation Gain: 1,000 feet
The Burroughs Mountain Trail will get you VERY up close to Mount Rainier.
I’m talking to the highest point accessible in Mount Rainier National Park.
Say whattttt?
By your side, you’ll have Emmons Glacier, Tahoma, and an uninterrupted view of Mount Rainier.
Along the way on this best Mt Rainier hike, you’ll also get views of Mount Baker.
Before you go, you should stop by the Sunrise Visitor Center to check the trail conditions.
Sourdough Ridge Trail
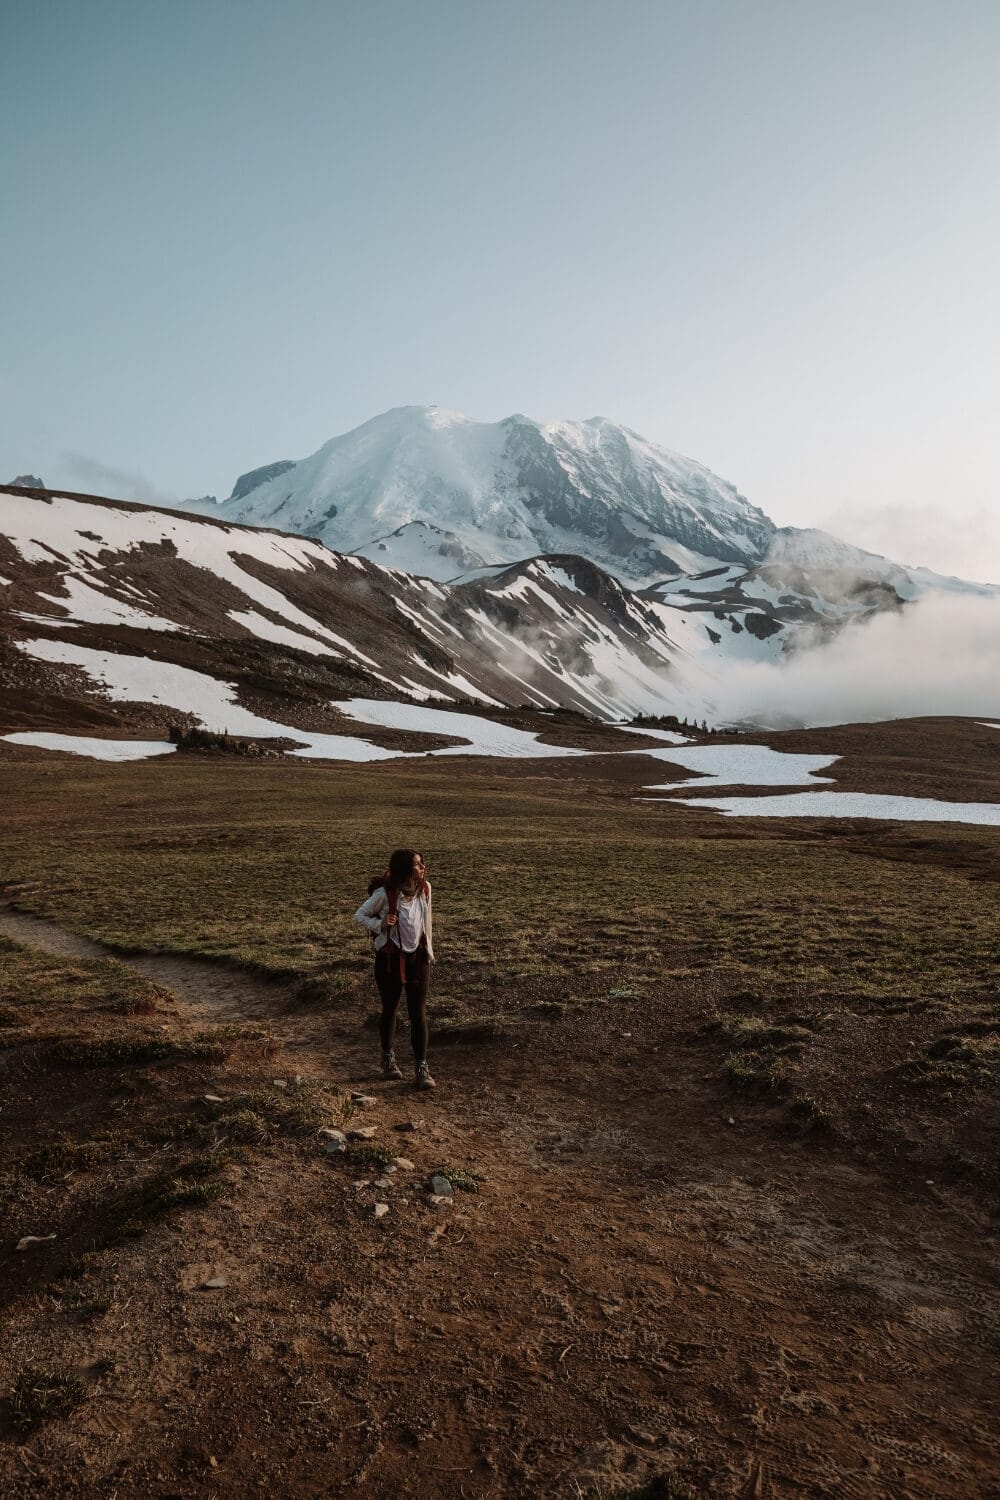
- Location: NE side of Mount Rainier at Sunrise
- Distance: 2.5 miles
- Elevation Gain: 400 feet
Sourdough Ridge is what I would call a good bang for your buck.
With minimal elevation gain, you’ll see right into the valley of Sunrise.
Some fellow hikers choose to combine this hike with Skyscraper Pass or Dege Peak, each offering their own set of unique views.
Best Mt Rainier Hikes in Southwest Entrance (Longmire/Paradise Area)
The Southwest Entrance, encompassing Longmire and Paradise, is Mount Rainier National Park’s most popular entry point.
Longmire, a historic district with charming buildings, is a great starting point.
Paradise, located at a higher elevation, offers stunning views of Mount Rainier and access to some of the park’s most iconic hikes.
Here, you’ll find trails for all skill levels, from the wildflower-filled meadows of the Skyline Loop to the challenging climb to Panorama Point for breathtaking vistas.
Nisqually Vista Loop Trail
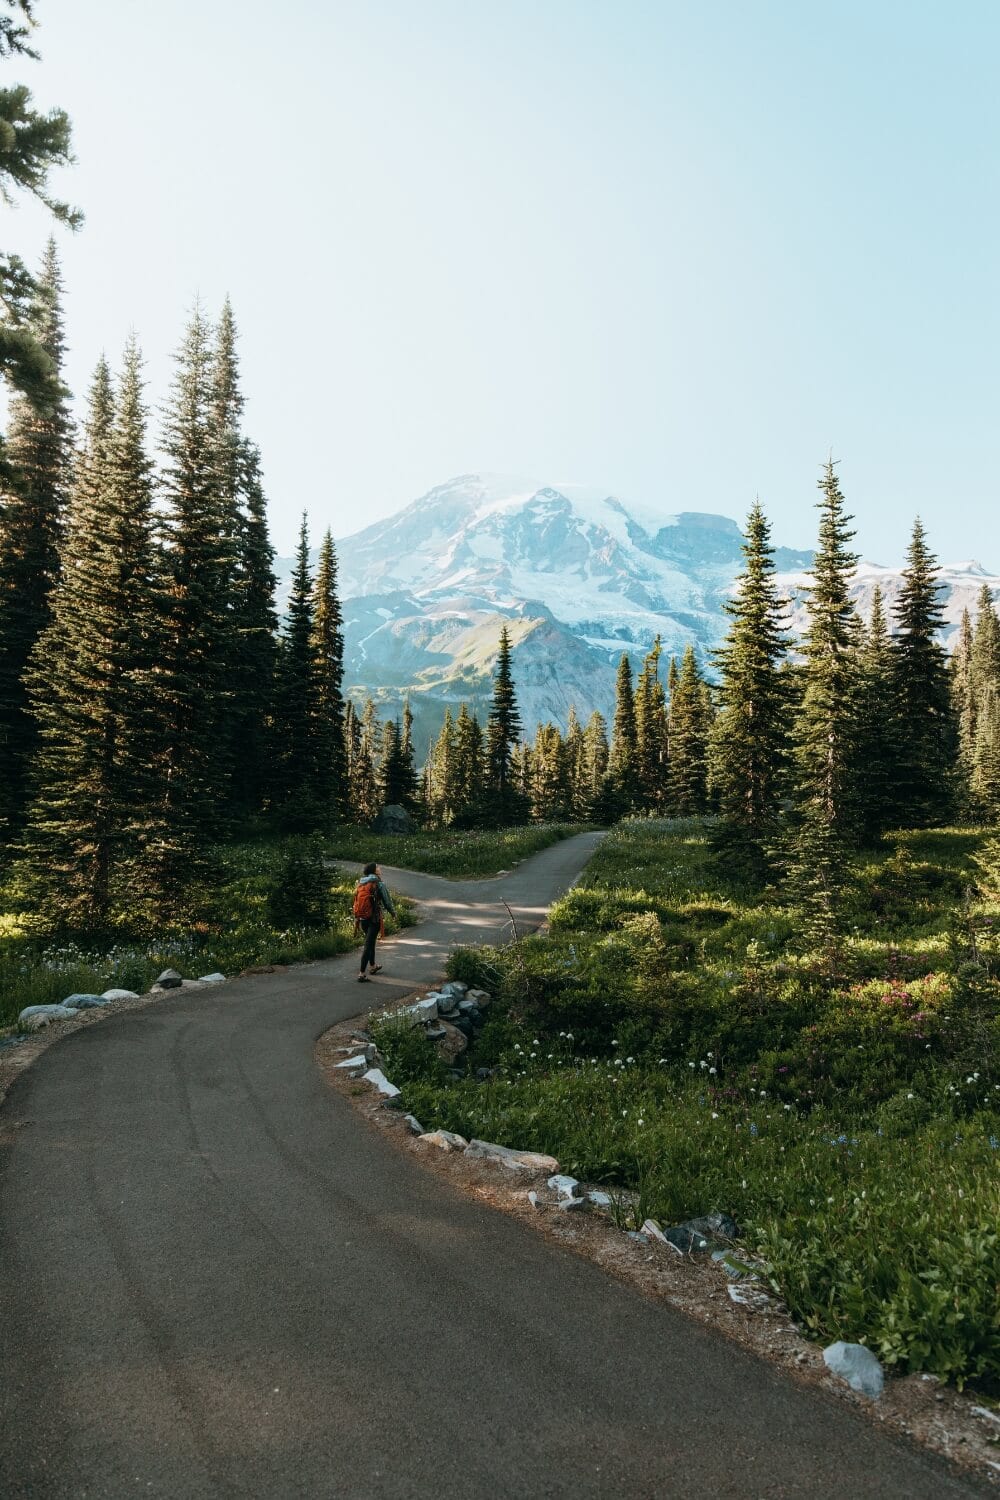
- Location: SW of Mount Rainier near Longmire/ Paradise
- Distance: 1.1 miles
- Elevation Gain: 200 feet
If climbing up a steep pass isn’t your thing, but you still want a great view of Mount Rainier, say no more!
The Nisqually Vista Loop Trail is short and sweet, but still offers beautiful views of the mountain.
I’ve added it to my list of best Mt Rainier hikes for those reasons.
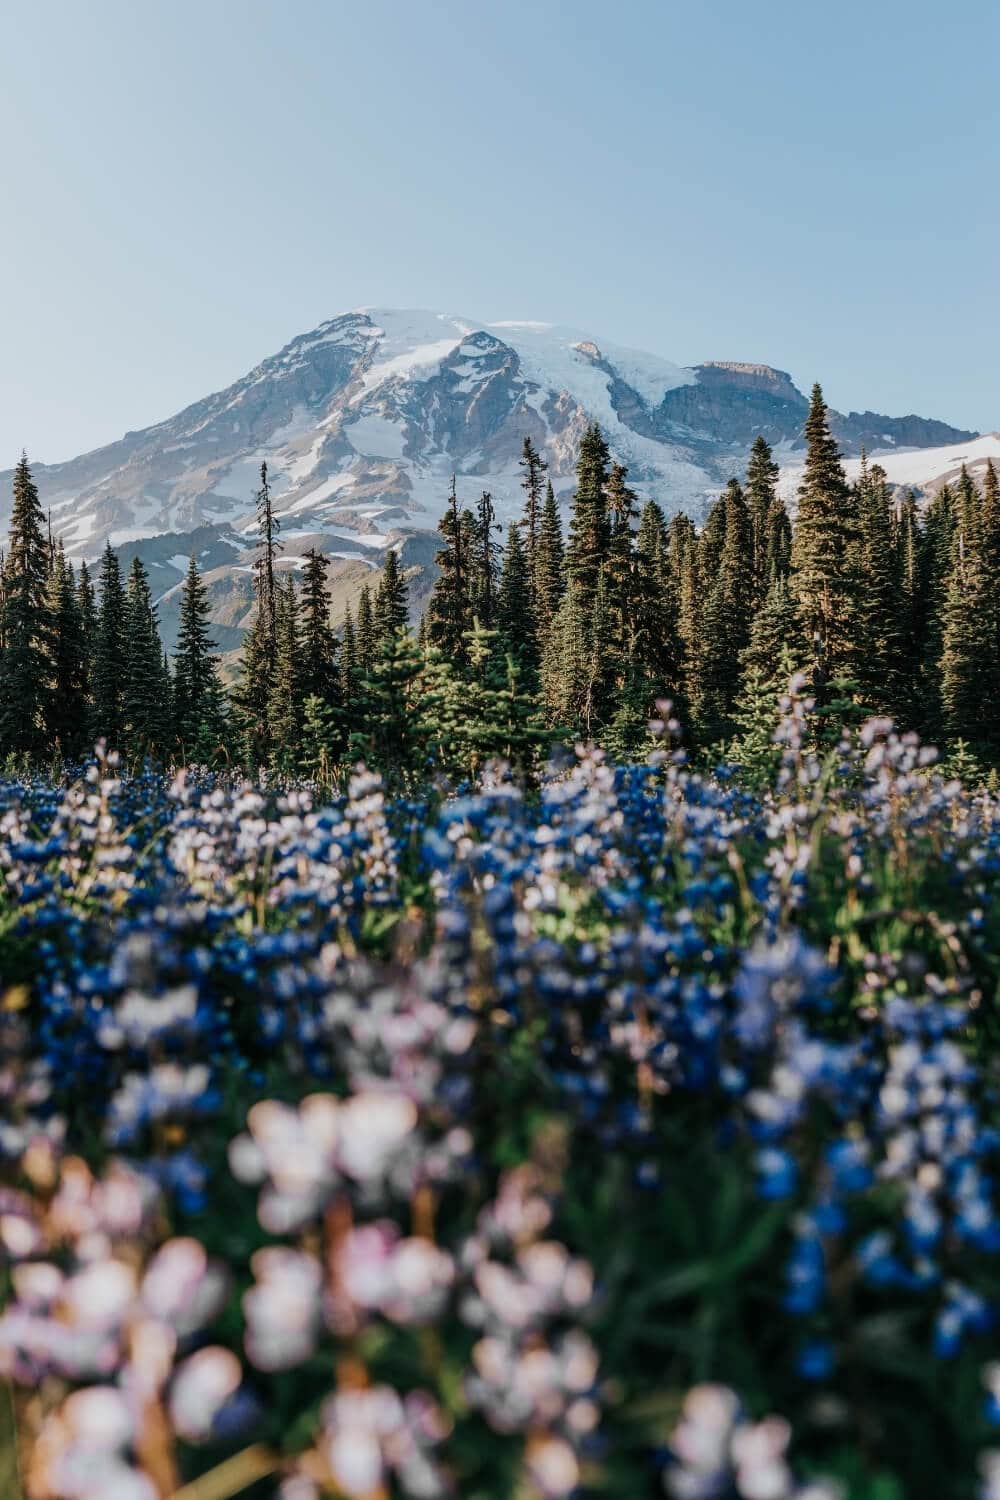
During peak wildflower season, you will find yourself walking amongst fields of purple lupines as far as the eye can see.
Scott and I also had the pleasure of spotting two deer along our hike, which made it all the more magical.
Skyline Loop Trail
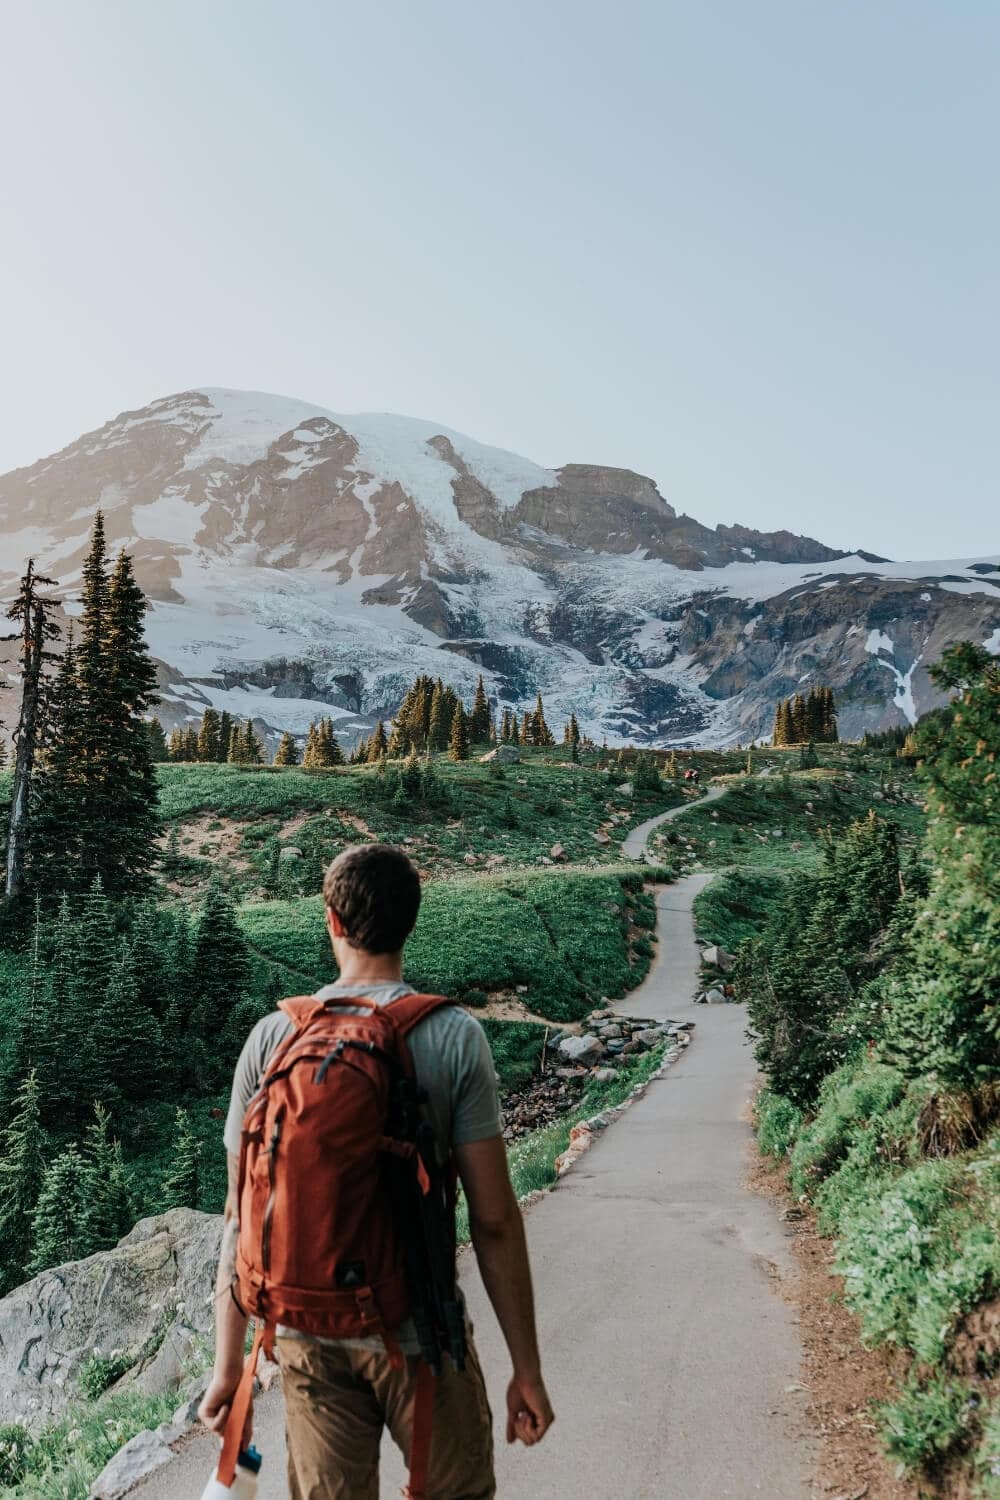
- Location: SW of Mount Rainier near Longmire/ Paradise
- Distance: 5.5 miles
- Elevation Gain: 1,450 feet
The Skyline Loop Trail offers visitors the unique opportunity to witness Mount Rainier in all its glory.
Surrounded by lush meadows of wildflowers and the whistles of marmots, on this best Mt Rainier hike, you’ll head straight up those 1,000+ feet of elevation and make a b-line towards the mountain.
If you go after a rainfall, you may even see views of small waterfalls since it runs right along a creek.
At the top, you’ll also find a small bench, which, in my opinion, would be the perfect place for a post-hike picnic.
Best Mt Rainier Hikes in Southeast Entrance (Ohanapecosh Area)
The Southeast Entrance, near Ohanapecosh, provides a gateway to Mount Rainier National Park’s lush and less crowded side.
This area is known for its old-growth forest trails, cascading waterfalls like the Silver Spray Falls, and a more relaxed vibe.
Hikers here can choose from options like the accessible Grove of the Patriarchs Loop, ideal for families, or venture further on the moderate Naches Peak Loop Trail for stunning views of the Tatoosh Range.
Grove of the Patriarchs Loop
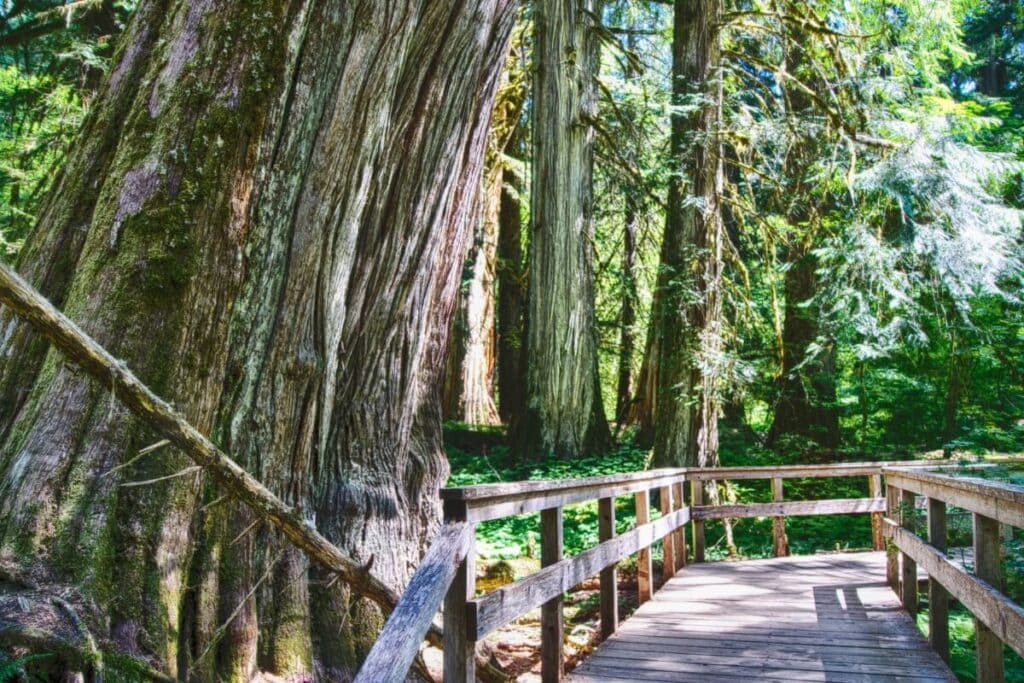
- Location: SE of Mount Rainier near Ohanapecosh
- Distance: 1.5 miles
- Elevation Gain: 50 feet
Grove of the Patriarchs Loop stands as one of the most leisurely hikes in Mount Rainier National Park and will take you through some of the greenest forests you’ve ever seen.
This best Mt Rainier hike is doable for visitors of all ages and gives you views of the Ohanapecosh River.
Fun Fact: Some of the trees in the forest stand at about 300 feet tall!
Best Mt Rainier Hikes in Northwest Entrance (Carbon River/Mowich Area)
The Carbon River Entrance, nestled in the park’s northwest corner, offers a unique experience compared to other areas of Mount Rainier National Park.
This region is known for its temperate rainforest atmosphere due to frequent rain.
Hikers here will encounter towering Douglas firs and ferns carpeting the forest floor.
The Carbon River is a highlight, cascading over waterfalls like the famous Myrtle Falls.
Trails range from the easy and scenic Carbon River
Trail to the more adventurous Mowich Lake Loop.
Spray Park Trail
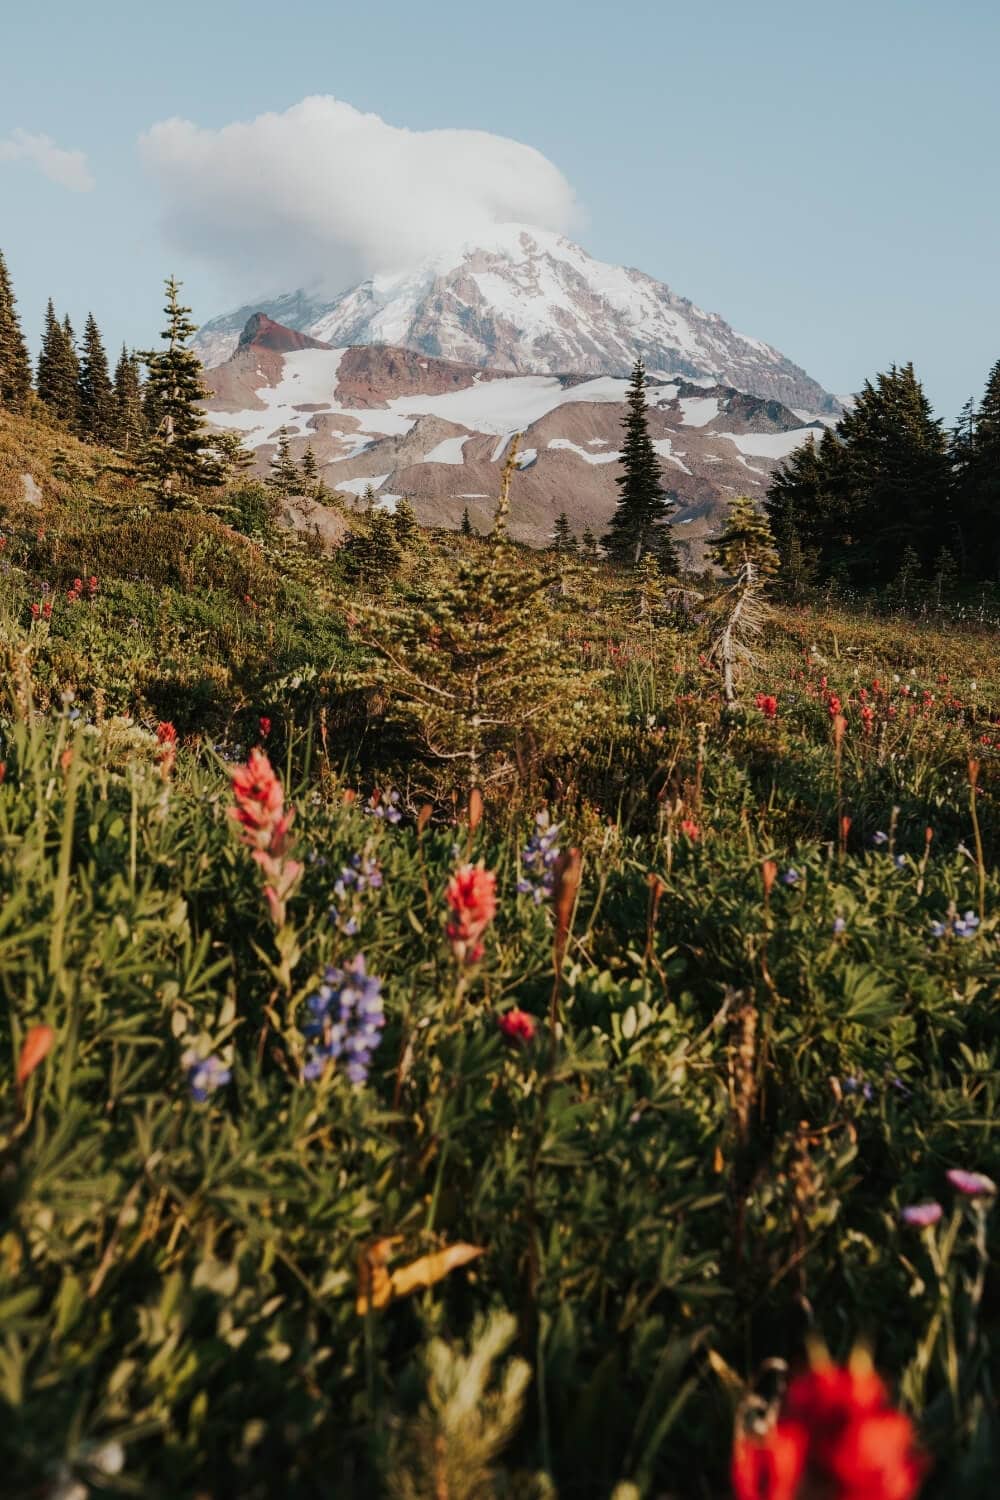
- Location: NW of Mount Rainier near Carbon River/ Mowich
- Distance: 8 miles
- Elevation Gain: 1,700 feet
If you’re looking for a more secluded place to hike, head on over to Spray Park Trail.
The trail goes through the forest, with stopping points in between, such as a waterfall.
Once you finish your somewhat steep climb, you’ll see a vibrant, flower-filled meadow.
Mt Rainier will be right there waving at you.
Watch out for the mosquitos, though!
Tolmie Peak Lookout
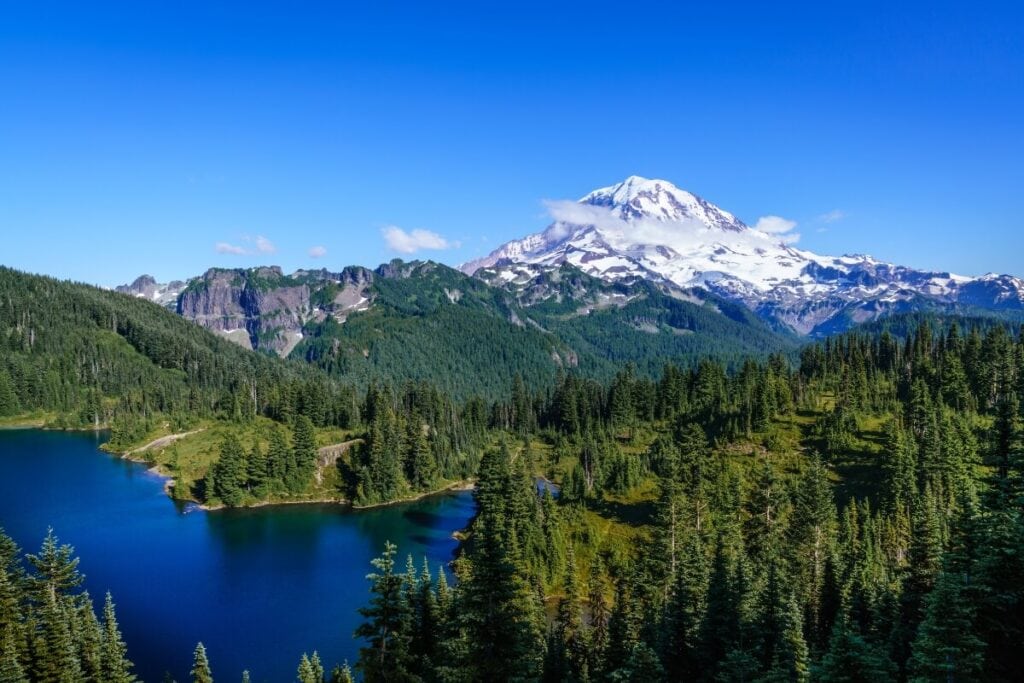
- Location: NW of Mount Rainier near Carbon River/ Mowich
- Distance: 7.5 miles
- Elevation Gain: 1,100 feet
If you read my Best Washington Hikes blog, then you may remember High Rock Lookout.
I think the views at High Rock and Tolmie Peak look relatively similar.
However, if you’re already in the Carbon River/ Mowich area, hike to the Tolmie Peak Lookout!
You might get lucky along the trail and see some wildflowers or even a black bear.
The area is close to overnight camping, but if you’re willing to hike later in the day, I recommend hitting this best Mt Rainier hike at sunset!
After your adventure, you can take a dip in Mowich Lake.
Gobbler’s Knob + Lake George
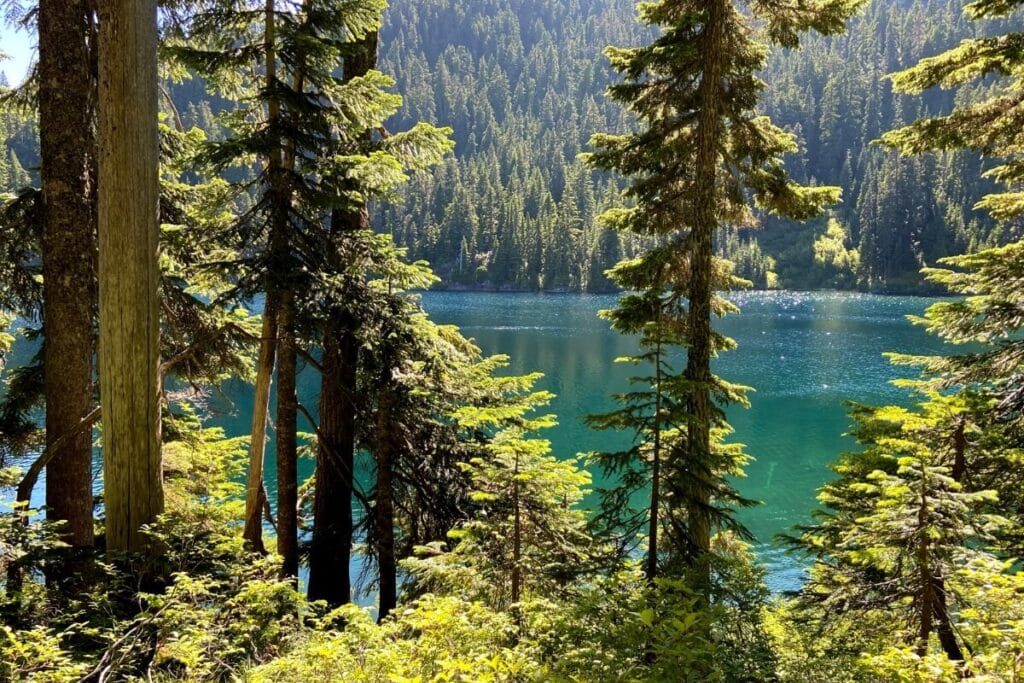
- Location: West Side of Mount Rainier
- Distance: 11.2 miles
- Elevation Gain: 2,635 feet
If you’re looking for a backpacking trail in the National Park, consider this one.
The western part of Mount Rainier is much more remote than the other areas, and possibly one of the best sections to see wildlife.
This Mt Rainier hike will take you to the turquoise waters of Lake George and the Gobbler’s Knob lookout.
You’ll also get dramatic views of the mountain.
The blue water reminds me of some of the other blue alpine lake hikes in Washington.
Other Mount Rainier Area Hikes (Various Entrances)
Wonderland Trail
- Location: Mount Rainier Area
- Distance: 93 miles RT
- Elevation Gain: 22,000 feet
Now, if nothing about ANY of these hikes excites you because you want to do the impossible, you want MORE, well, the best thing for you to do is through-hike the Wonderland Trail.
You will be taken up and down the Mount Rainier surrounding areas, over the river, and through the woods into Grandma’s house, you go.
Hiking the trail can take 9 – 13 days and is best done in summer and early fall.
For more information on this best Mt Rainier hike and permit system, visit the NPS site.
Insider Tips for Your Hikes
Be Prepared: Essential Gear and Clothing
Conquering any Mount Rainier hike requires proper preparation. Here’s a checklist of essentials to ensure a safe and enjoyable adventure:
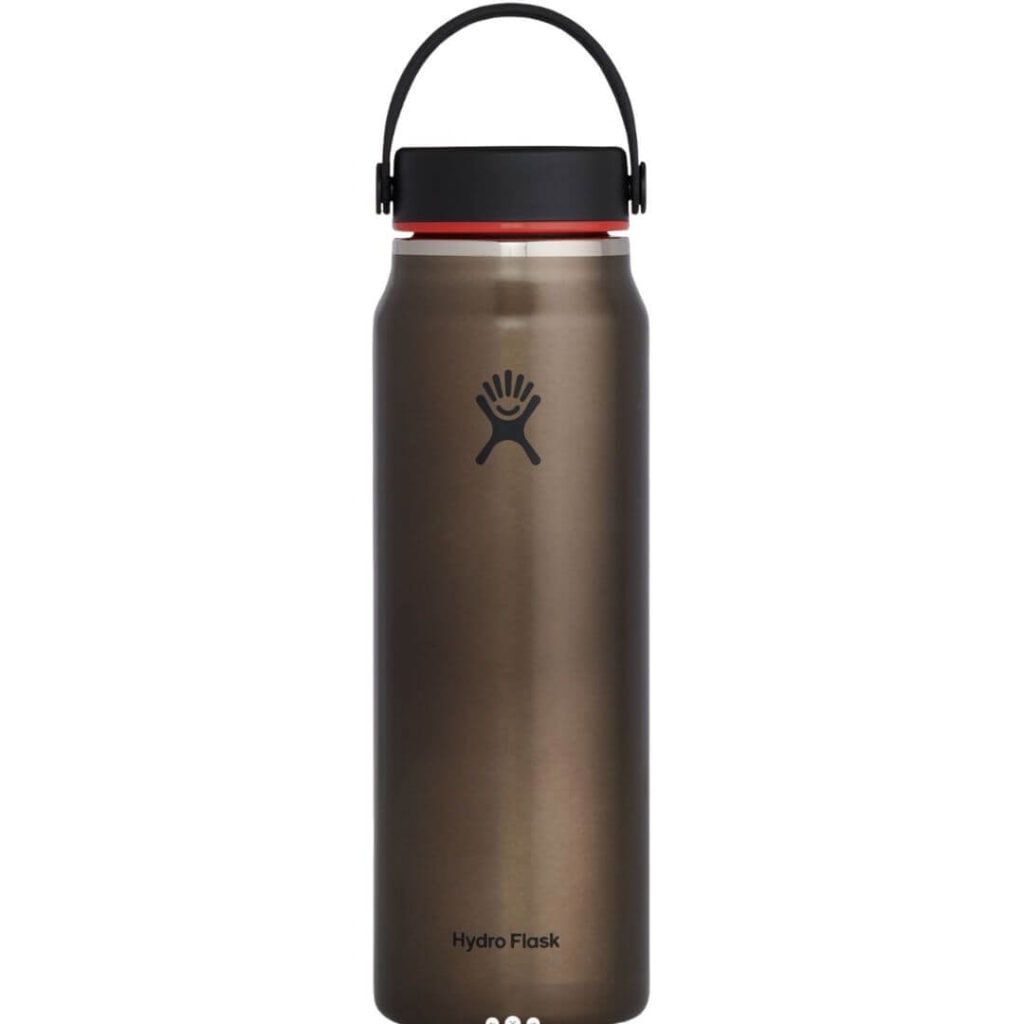
- Hydration is Key: Pack plenty of water (at least 2-3 liters for most day hikes) and a refillable water bottle. Consider electrolytes for longer treks on hot days.
- Dress for the Elements: Layers are your friend! Pack a breathable base layer, an insulating mid-layer (fleece or light jacket), and a waterproof outer shell in case of rain.
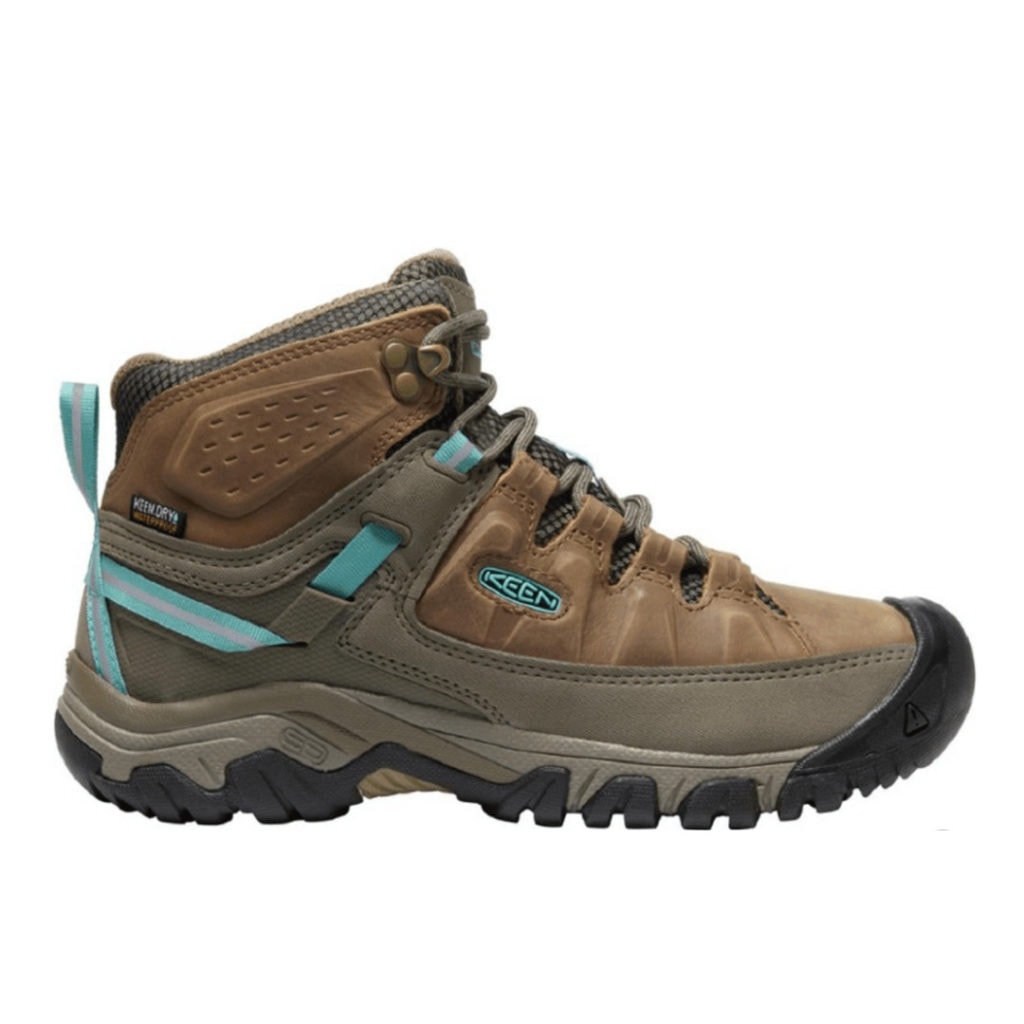
- Footwear Matters: Sturdy hiking boots with good ankle support are crucial for navigating uneven terrain. Make sure your boots are broken in before your hike.
- Sun Protection: Sunscreen (SPF 30 or higher), sunglasses, and a hat are essential, especially at higher elevations where sun exposure intensifies.
- Navigation Essentials: A map of the park and your chosen trail, along with a compass or GPS device (with backup batteries) will help you stay oriented.
- Safety First: Pack a small first-aid kit, emergency whistle, and headlamp or flashlight in case of unexpected delays.
- Trail Essentials: Bring snacks with high energy content (nuts, granola bars), insect repellent, and hand sanitizer for a comfortable and hygienic hike.
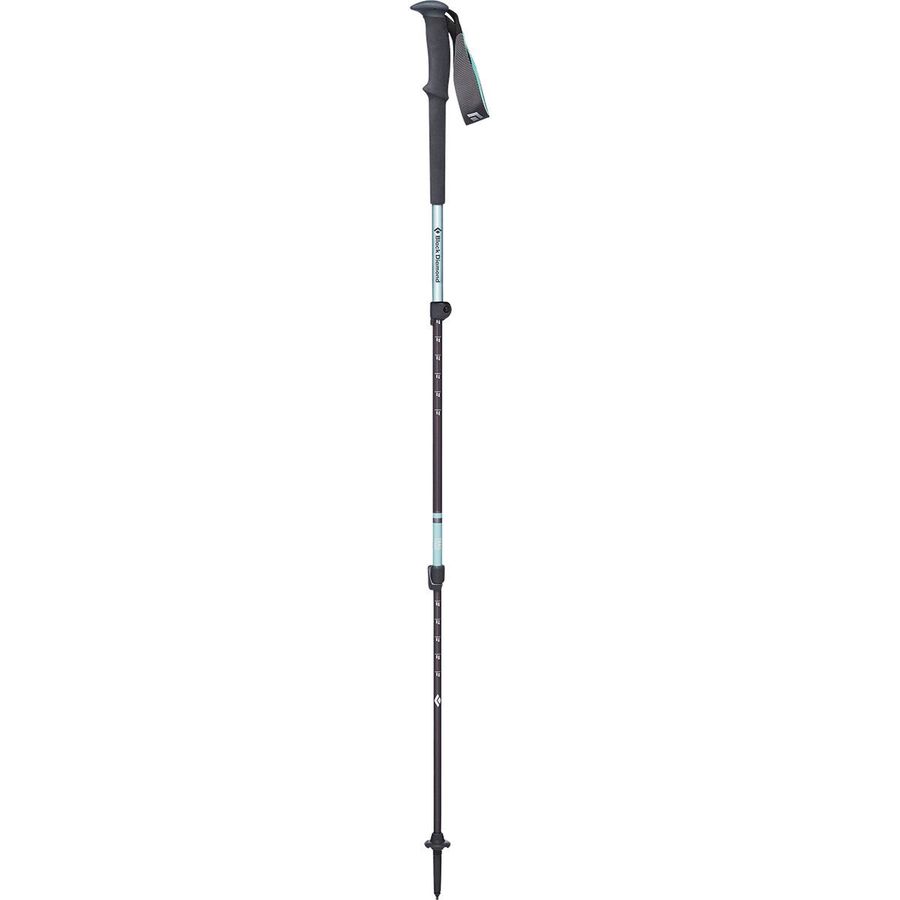
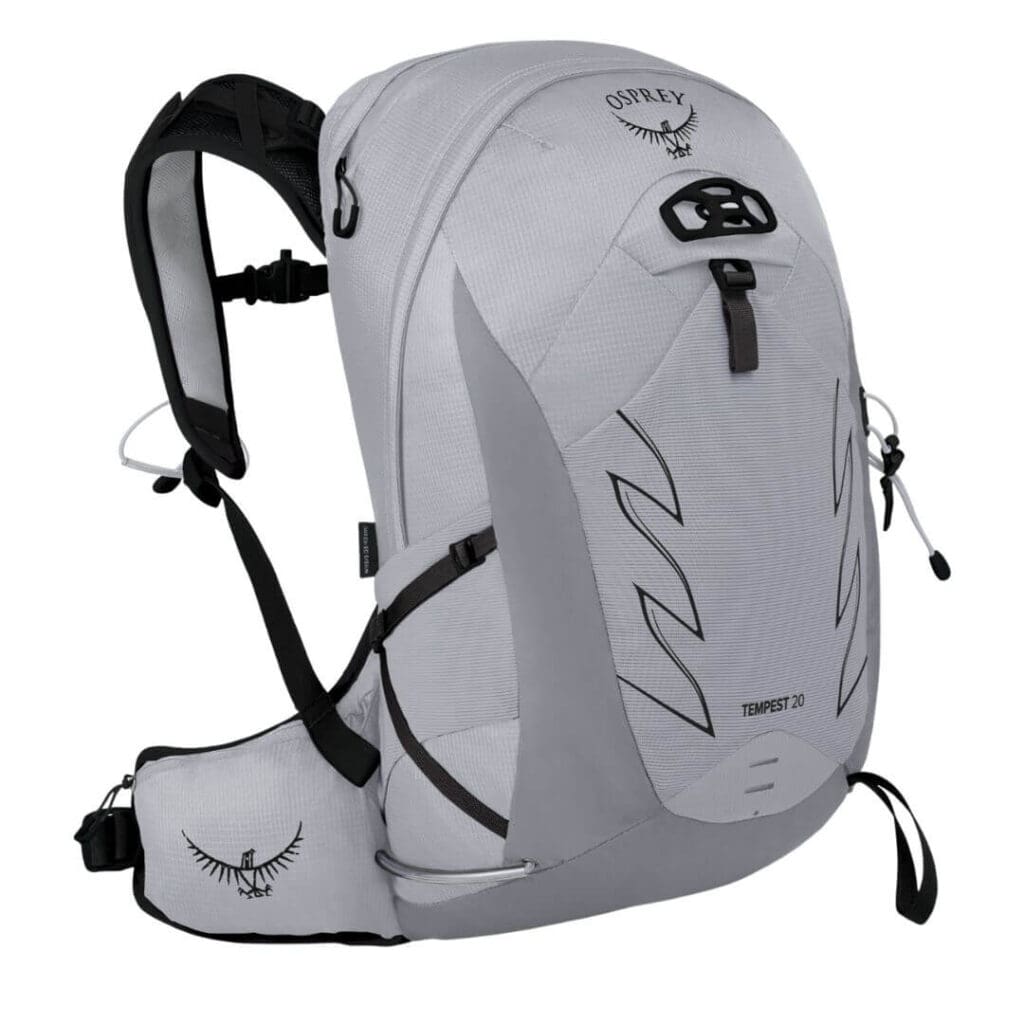
- Optional Extras: Trekking poles can provide stability on uneven terrain, and a rain cover for your backpack protects your gear from downpours. Remember, every gram counts, so pack light but be prepared.
Park Regulations and Permits
Always check the latest regulations before you visit Mount Rainier National Park. Here’s a quick rundown:
- Entrance Fees: Everyone entering the park needs a park entrance pass (America The Beautiful Pass) or pay an entrance fee. You can purchase passes online or at park entrances.
- Timed Entry Reservations: During peak season (typically May-September), some areas of the park, like Paradise and Sunrise, require timed entry reservations to access them by car between 7:00 am and 3:00 pm. Obtain these reservations online in advance.
- Wilderness Permits: Backpacking or overnight camping in the park’s wilderness areas requires a free wilderness permit. Obtain this permit beforehand at park visitor centers.
- Climbing Permits: For technical climbs like Mount Rainier itself, specific climbing permits are necessary. Contact the park for details and regulations.
Picking the Best Mount Rainier Hike for You
Overall, picking which of the best Mt Rainier hike you should go on depends on the kind of adventure you want to have!
I recommend thinking about what area of the park you want to spend the most time in, then pick your hike from there.
For example, I loved spending a lot of time in Sunrise, so during my initial visits to the park, I would prioritize going to Fremont Lookout and exploring some scenic vistas.
With that, I hope you loved this guide! Make sure you check out my other Washington guides.
